Integrating DAHUA Network Cameras into your Local Area Network (LAN) is a fundamental step in setting up a comprehensive surveillance system. This guide will provide a clear and concise walk-through on how to connect your DAHUA IP cameras to your LAN for optimal performance and ease of management.
Introduction to DAHUA Network Cameras
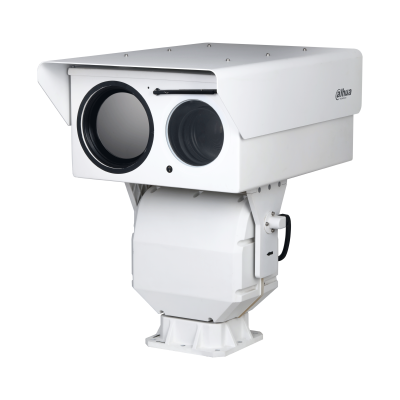
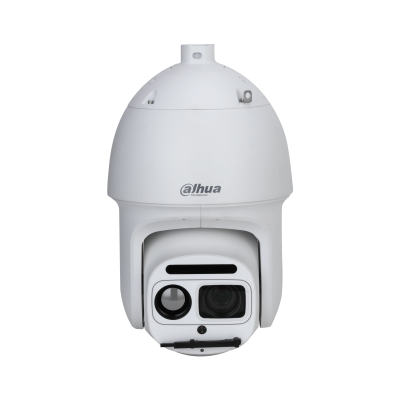
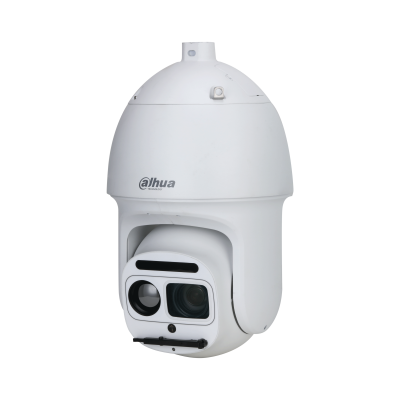
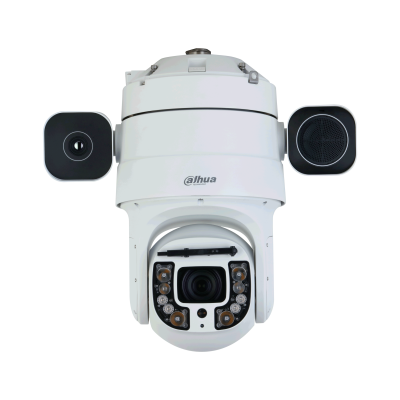
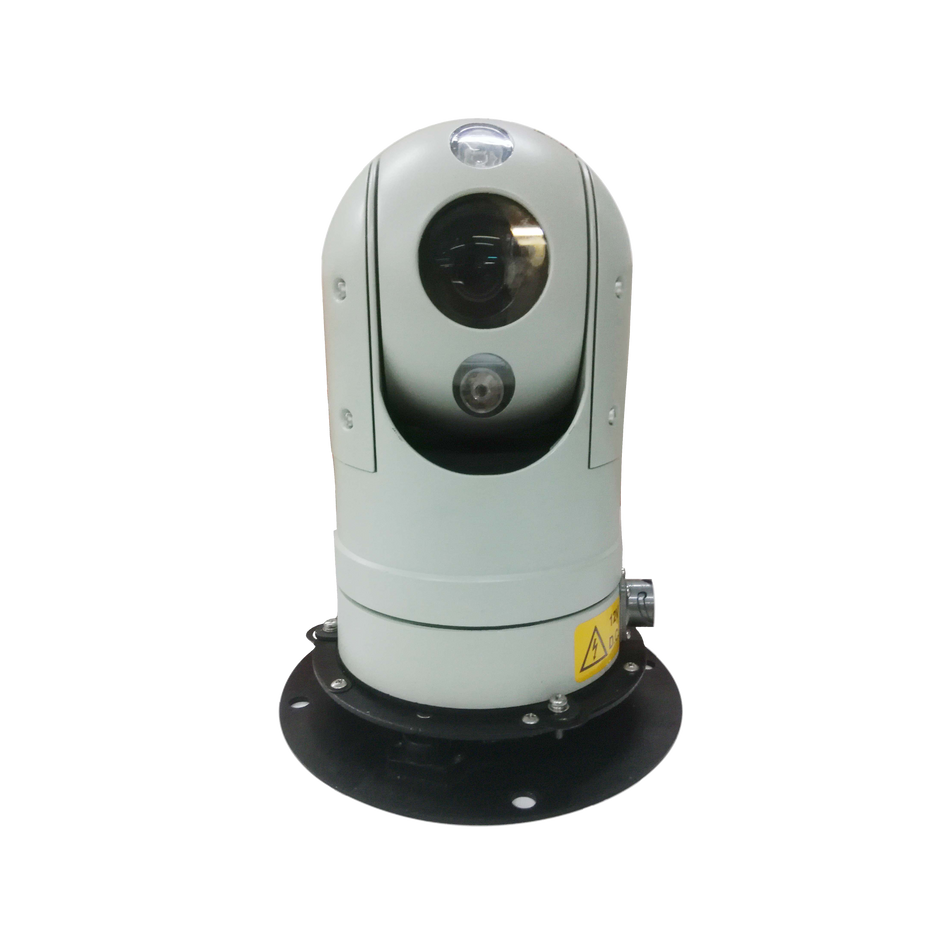
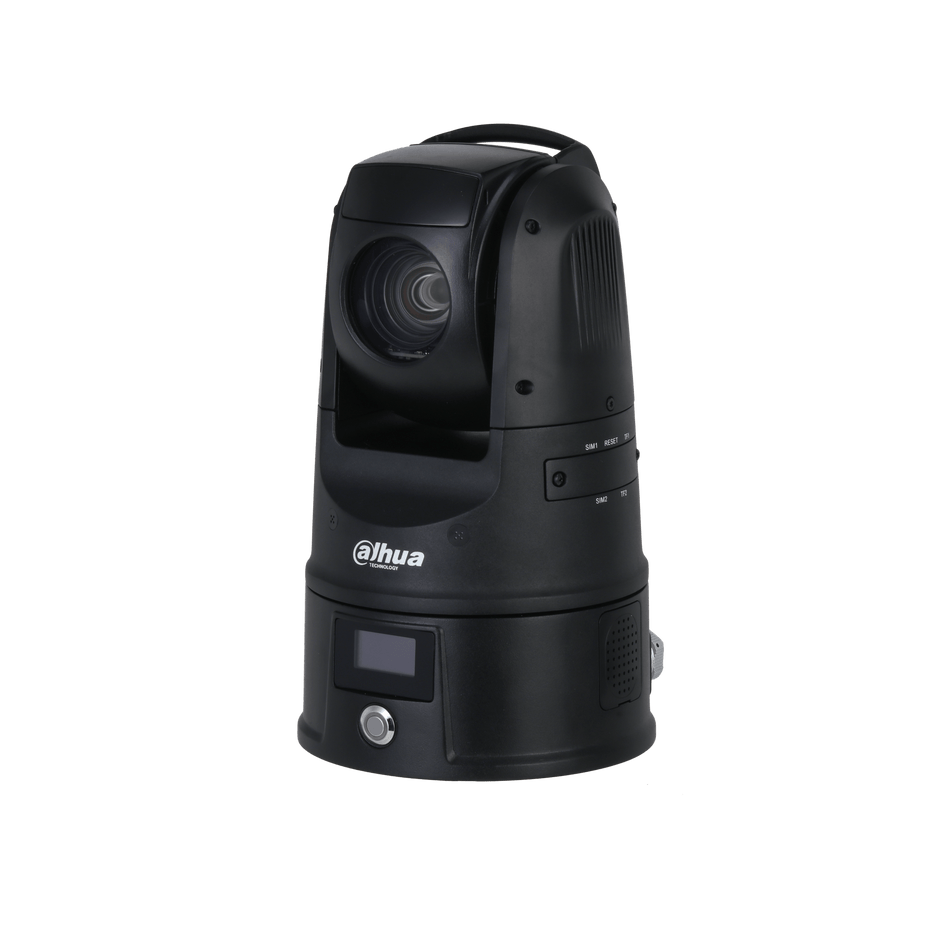
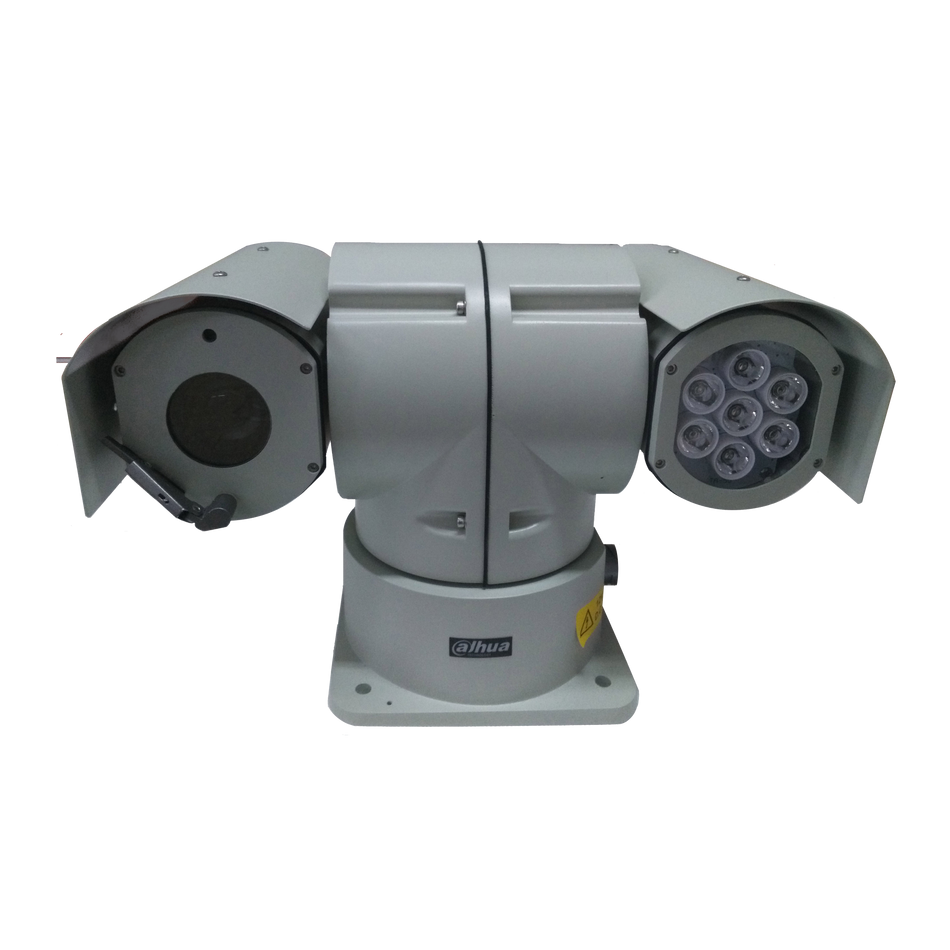
DAHUA Network Cameras are advanced surveillance tools designed to provide high-quality video streaming over a network. They offer flexibility in installation and can be easily connected to a LAN, allowing for remote monitoring and control.
Prerequisites
Before you begin, ensure you have the following items:
- One or more DAHUA IP cameras.
- A network switch that supports Power over Ethernet (PoE) or a separate PoE injector for power supply.
- A PC, modem, or router connected to the LAN.
- CAT5e or CAT6 network cables for connecting devices.
Step-by-Step Connection Process
Step 1: Prepare Your DAHUA Network Camera
Start by positioning your DAHUA IP camera at the desired location. Ensure it is within range of the network switch and power source.
Step 2: Connect the Camera to the Network Using a CAT5 Cable
Take a CAT5 network cable and connect one end to the Ethernet port on your DAHUA IP camera. This cable will establish a wired connection between the camera and the network.
Step 3: Power Supply Consideration
Connect the other end of the CAT5 cable to a PoE-enabled port on your network switch. If your switch does not support PoE, you will need a separate PoE injector or a PoE switch to provide power to the camera.

Step 4: Connect the Switch to the LAN
Using another network cable, connect your switch to your PC, modem, or router. This connection will integrate your DAHUA Network Cameras into the existing LAN, allowing for network-wide access and control.

Step 5: Verify the Connection
Check the switch and camera for indicator lights that show the connection and power status. The camera should also appear on your network device list, which can be accessed through your PC or the client software of your network management system.
Step 6: Configure the Camera (If Necessary)
Depending on the camera model and your network setup, you may need to configure the camera's network settings. This can typically be done through a web browser or dedicated software, where you can set the IP address, DNS, and other parameters.
Step 7: Test the Camera Functionality
Once connected and configured, test the camera by accessing the live video feed. Ensure the video quality is up to standard and that there are no connectivity issues.
Step 8: Repeat for Additional Cameras
If you have more cameras to connect, repeat steps 2 to 7 for each camera, ensuring each one is properly integrated into the LAN.
Connecting DAHUA Network Cameras to a LAN is a straightforward process that enhances the functionality of your surveillance system. With a wired connection, you benefit from stable video streaming and the ability to manage your cameras remotely. By following these steps, you can ensure a secure and efficient setup, giving you confidence in your surveillance solution.








 العربية
 Dansk
Dansk English
 Suomi
Suomi Français
 Deutsch
 Italiano
 日本語
日本語 Norsk bokmål
 Português
 Español
 Svenska